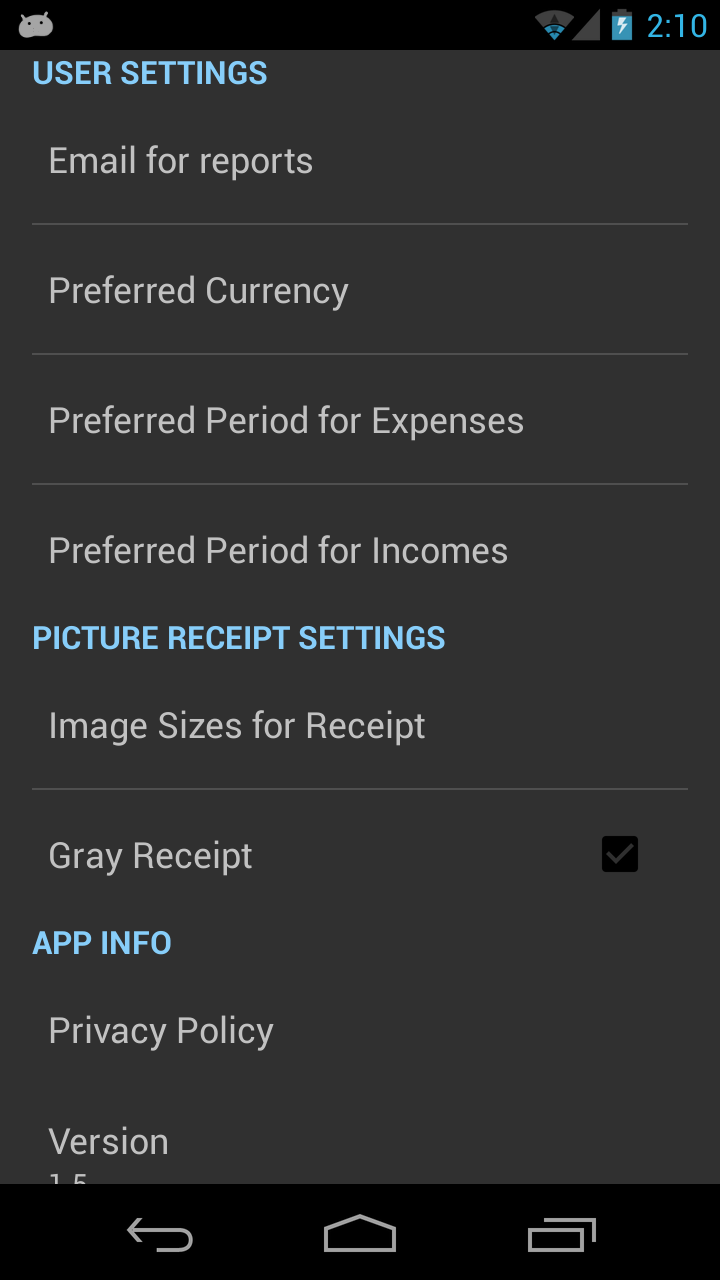
Before using the application, we recommend filling-up the settings and the categories for expenses, incomes, warranties. In the “Settings” screen the user should set-up a few parameters:
- Preferred Currency: by default the Dashboard is presenting a chart with the expenses summary in a preferred currency
- Preferred Period for Expenses: it is the default period used for Expenses screen. If the user likes to see expenses on a specific period, the setting should be chosen here
- Preferred Period for Incomes: it is the default period used for Incomes screen.
- Image Sizes for Receipt: when the receipts are stored for expenses, the app can minimize the impact on device memory but saving the image in a lower resolution and gray colours
- Email for reports: when filled, the reports are automatically using this address to fill-up the receiver of the reports

Set up the colors for categories for expenses, incomes and warranties, for a better differentiation of the items. The second picture below has three gauges used to determine the color of the category in RGB format – just drag the dot and adjust for you preferred color.


The first layout of the application is presenting a shortcut summary for the expenses and incomes on the last seven days, last four weeks, last six months or last two years. 
The first line of radio buttons (Daily/Weekly/Monthly/Yearly) picks the granularity for the summary data shown in the pie chart at the bottom of the screen. The second line of the buttons is allowing to see the total expenses and revenues in the last days/weeks/months/years.
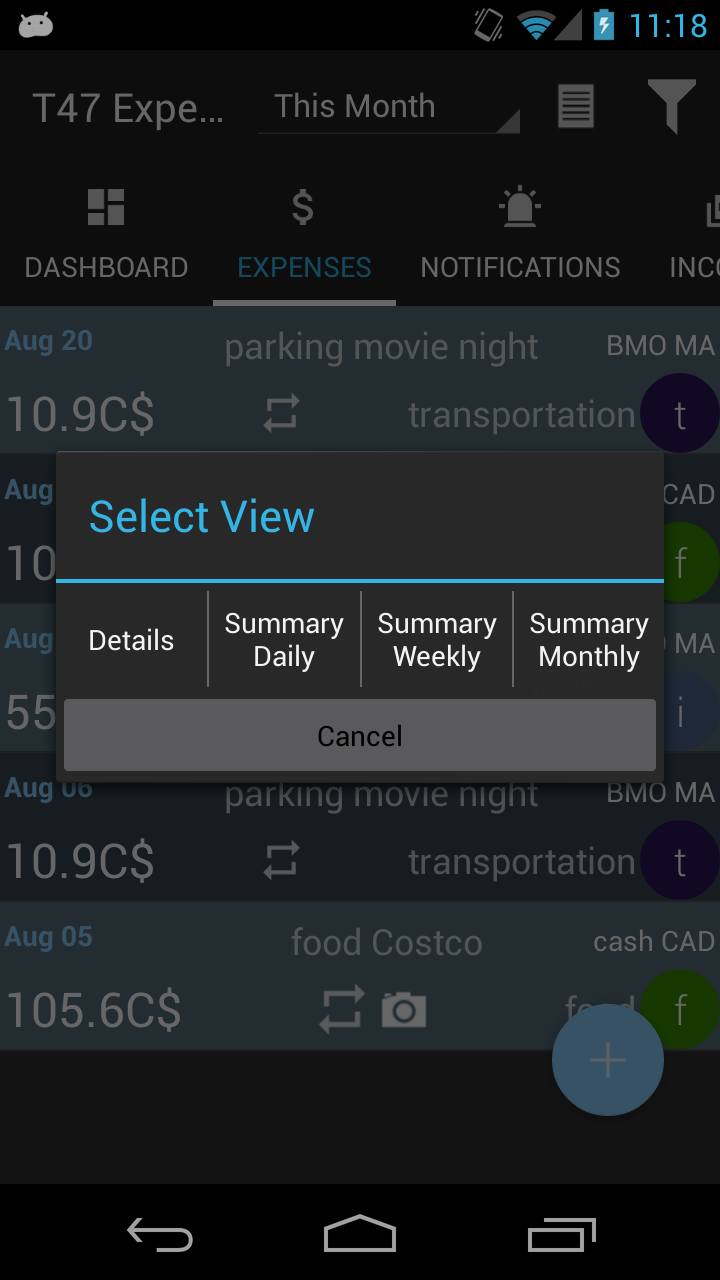
The expenses have a simple list-view presentation customized by the period and the view type. Each line contains the purchase date, the note/comment,the currency, the payment method, the category and adds symbols when the payment is recurring or has the receipt attached. On the toolbar, the user can select the period for the expenses, the detail or summary for periods and filter by several parameters – category, payment type, currency. 

Adding an expense
The detail screen for expenses allows to define several types of payments:
- back-dated payments – recurring, with notifications
- future payments – recurring, with notifications
- collect image of receipt
- select method of payment, vendor and category

The incomes are the inflow of money into the payment accounts (cash/credit or debit cards). Similar with expenses the user can define them as recurring and generating notifications.

Adding new income

The accounts/payment methods are the items used as outflow for expenses and inflow for incomes. T47 Expenses supports different currencies and we added the option to remind the users on due dates (most of the time is a specific day of the month). In the case below, the due date is 10th day of each month and the notification starts to show up as a warning after 5th day.


The warranty has to be linked with the expense entry. The “search” icon will bring up the list of the last expenses. Automatically the note of the expense and the date of the receipt is used as the date when the warranty starts. The user has also the option to take a picture of the barcode/cover of the item/etc… in case is needed. If the user wants to be notified before the warranty expires – in case the item/service needs to be sent out – there is an entry for a warning period (with granularity as days/weeks/months). The notifications will show up with a


The notifications available for now are:
- expense notifications – reminders to pay an expense
- income notifications – reminder to follow the payment was made
- warranty notification – reminder to insure the item/service is still available at the end of the warranty

It seems superfluous to take care of vendors in an expense management app, but we think the users of Foursquare app might find it touching! But not only this, you can monitor the spending at a specific vendor and claim some perks as a constant customer. Enough justification… The list view is for the user to have a shortcut to the website, address, phone and (in the future) other pertinent info. You can press on the web address and go directly to their website or have the phone number or person you want to contact. Another benefit is to have a comparison of the expenses for each vendors (see the Reports section).


The reports are created with a dual purpose: email them as HTML attachments and chart visualization on different criteria.
The entries for backup/restore are for paid version. It allows to automatically save/restore in case you change your phone or have many devices in use.